How to Use Shipping Label Printer Right
Learn how to use shipping label printer the right way, from setup to printing clean labels fast, with fewer jams, wasted labels, and shipping mistakes.
June 25, 2026
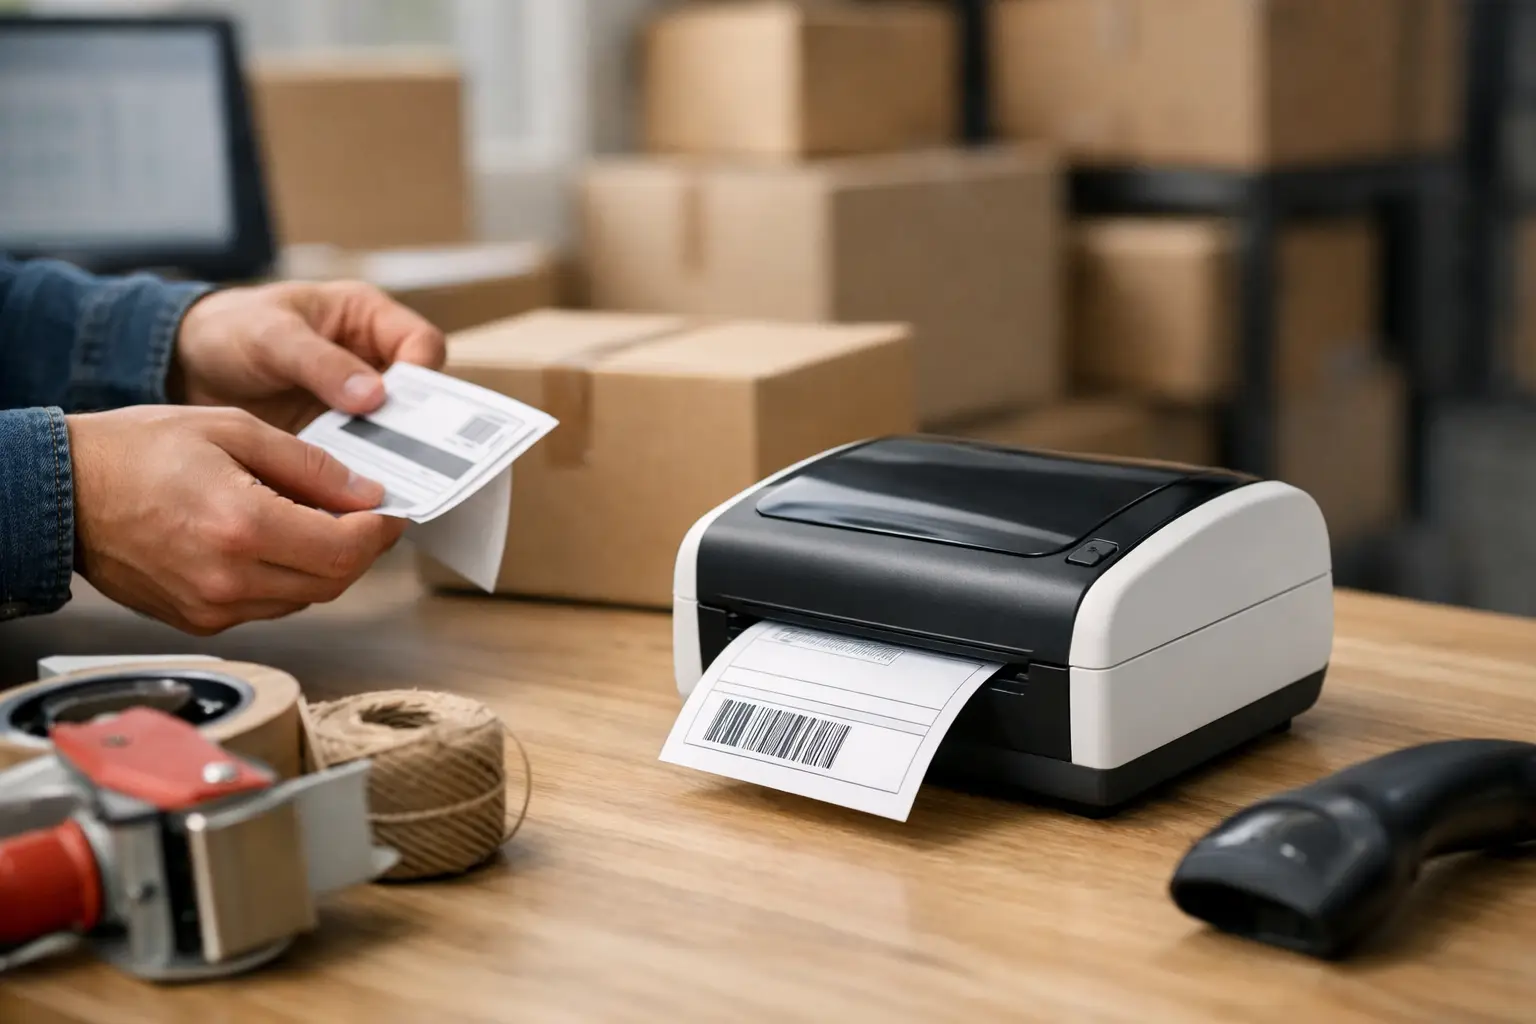
A shipping label printer can save you a stupid amount of time - but only if you set it up right. If you've been Googling how to use shipping label printer tools without wasting half a roll of labels, fighting drivers, or printing postage that comes out tiny and crooked, you're in the right place.
What a shipping label printer actually does
A shipping label printer is built for one job: printing carrier-ready labels fast, clearly, and at the right size. Most ecommerce sellers use thermal printers, which means no ink and no toner. The printer uses heat to create the image on the label, so you get fewer supplies to buy and one less annoying thing to manage.
That said, not every label printer behaves the same way. Some are direct thermal only, which is perfect for shipping labels. Others support thermal transfer, which matters more for long-term product labeling than everyday parcel shipments. For most online sellers, warehouses, and resale operations, a standard 4x6 direct thermal printer is the sweet spot.
How to use a shipping label printer from day one
The basic process is simple. Plug in the printer, load labels, install the right driver, connect it to your shipping software, and print a test label before you start cranking through orders.
Where people get tripped up is the boring stuff they skip. They print on the wrong label size, forget to calibrate the media, or use the default paper settings from their laptop. Then they blame the printer. Fair enough, but the printer usually isn't the villain.
Step 1: Pick the right label size
For shipping, 4x6 is the standard. USPS, UPS, and FedEx all play nicely with 4x6 labels, and most marketplaces and shipping platforms are built around that format. If you're printing half-sheet labels on a regular desktop printer, that's a different setup entirely.
If your label printer is designed for 4x6 but your software is set to letter size, your labels will come out shrunken, clipped, or weirdly centered like they gave up halfway through life. Match the software format to the physical label roll before you do anything else.
Step 2: Load the labels the right way
This sounds too obvious to mention, but here we are. Put the label roll in so the printable side faces the print head. Feed the labels through the guides snugly, but not so tight that the roll can't move.
If the labels drift left or right, your guides are probably loose. If the printer keeps skipping labels, the sensor may not be reading the gap correctly. A lot of label printers need a quick calibration after you load a new roll. Do that once now and save yourself a pile of bad labels.
Step 3: Install drivers and set printer preferences
Some printers are plug-and-play. Some act like they were designed during a personal grudge. Either way, install the manufacturer driver if one is required, then open your printer settings and check three things: label size, orientation, and print speed.
Label size should be 4x6 if you're printing standard parcel labels. Orientation is usually portrait. Print speed depends on the printer and label stock. Faster isn't always better. If barcodes look fuzzy or too light, slow it down and increase print darkness slightly.
Step 4: Connect your shipping software
This is where the real time savings show up. Your shipping platform should let you buy postage, compare carrier rates, and print labels without bouncing between carrier websites like it's 2009.
Once your printer is recognized, print directly from the order screen or batch workflow. If you're using a tool that compares USPS, UPS, and FedEx rates in one place, even better - because saving time is nice, but paying less postage is nicer.
How to use shipping label printer settings without screwing up labels
Most printing issues come down to settings, not hardware. The printer can only print what your system tells it to print.
If labels are too small, check the document format in your shipping app and the media size in printer preferences. If the barcode is cut off, make sure scaling is set to 100% or actual size. If every label feeds out with a blank one after it, recalibrate the sensor and confirm the label dimensions match the stock you're using.
There is also the question of PDF versus direct print. Some shipping tools generate labels as PDFs first. Others send them straight to the printer. Direct print is faster, but PDF can be useful if you need to review labels before printing or save copies for internal records. It depends on your workflow. A solo seller shipping 20 orders a day has different needs than a team pushing out 800.
Common mistakes that waste labels and money
Bad shipping setups don't just look messy. They cost real money.
One common mistake is using cheap, low-quality labels that smudge, curl, or don't stick well. Saving a fraction of a cent per label is not a win if boxes arrive with unreadable barcodes. Another is printing through a browser with random scaling settings turned on. Browsers love to "help" in ways nobody asked for.
The next one is skipping test prints. Print one clean sample before you run a full batch. Check barcode sharpness, address alignment, and whether the label peels cleanly from the backing. One test label beats ruining thirty.
Then there's placement. Put the label on the largest flat side of the box. Don't wrap it over edges, tape over the barcode, or stick it across box seams if you can avoid it. Carrier scanners are not known for patience.
Thermal printer or regular printer?
If you ship once in a while, a regular printer with 8.5x11 adhesive sheets can get the job done. It's not glamorous, but it's workable. If you're shipping daily, a thermal shipping label printer is the smarter move.
Thermal printers are faster, cleaner, and cheaper over time because you don't buy ink. They also turn packing into less of a weird arts-and-crafts project. Peel, stick, done.
The trade-off is upfront cost. A decent thermal printer costs more than using the inkjet you already own. But if you're shipping enough volume that printing labels is part of your daily routine, the time savings and lower supply costs usually make up for it pretty fast.
Best setup for small businesses and ecommerce sellers
The most practical setup for most merchants is a 4x6 thermal printer, a label roll that matches your printer specs, and shipping software that lets you compare carrier rates and print in a couple of clicks.
That matters because the printer is only one piece of the puzzle. If your workflow still involves checking USPS on one tab, UPS on another, and FedEx somewhere else while copying addresses around manually, you're still burning time. The cleaner setup is one dashboard, one printer, and no nonsense.
If you run a small team, make sure everyone uses the same saved printer settings. Shared devices get messy fast when one person changes paper size and nobody notices until afternoon. Standardizing your print setup is boring, yes, but it keeps fulfillment moving.
Troubleshooting when your shipping label printer acts up
If the printer won't print at all, start with the basics. Check power, USB or network connection, default printer selection, and whether the device shows as online. Then verify the correct driver is installed. Half of "printer problems" are really communication problems.
If labels print blank, you're probably using thermal labels loaded upside down or the wrong media type. If print quality is faded, clean the print head and adjust darkness. If labels are feeding incorrectly, recalibrate the printer and inspect the sensor area for dust or adhesive buildup.
When barcodes look jagged, the issue may be low resolution, high speed, or software scaling. Try printing from the shipping platform directly instead of downloading and reprinting from another app. Fewer handoffs usually means fewer weird results.
And if you're batch printing, don't ignore a problem after the first bad label. Stop and fix it. One minute of troubleshooting beats reprinting a whole stack while muttering at your desk.
The fastest way to make this easy
The easiest way to learn how to use shipping label printer gear is to stop treating the printer like a standalone gadget. It's part of your shipping workflow, not some mystical little box on the packing table.
Get the label size right. Calibrate the printer. Use decent labels. Print a test. Then connect it to software that helps you buy postage and compare rates without adding extra clicks, fees, or carrier-site chaos. That's the difference between printing labels and actually running shipping like a business.
If you want the process to feel less like office equipment roulette, keep it simple and keep it standardized. Your future self - the one trying to get orders out before pickup - will appreciate it.
